
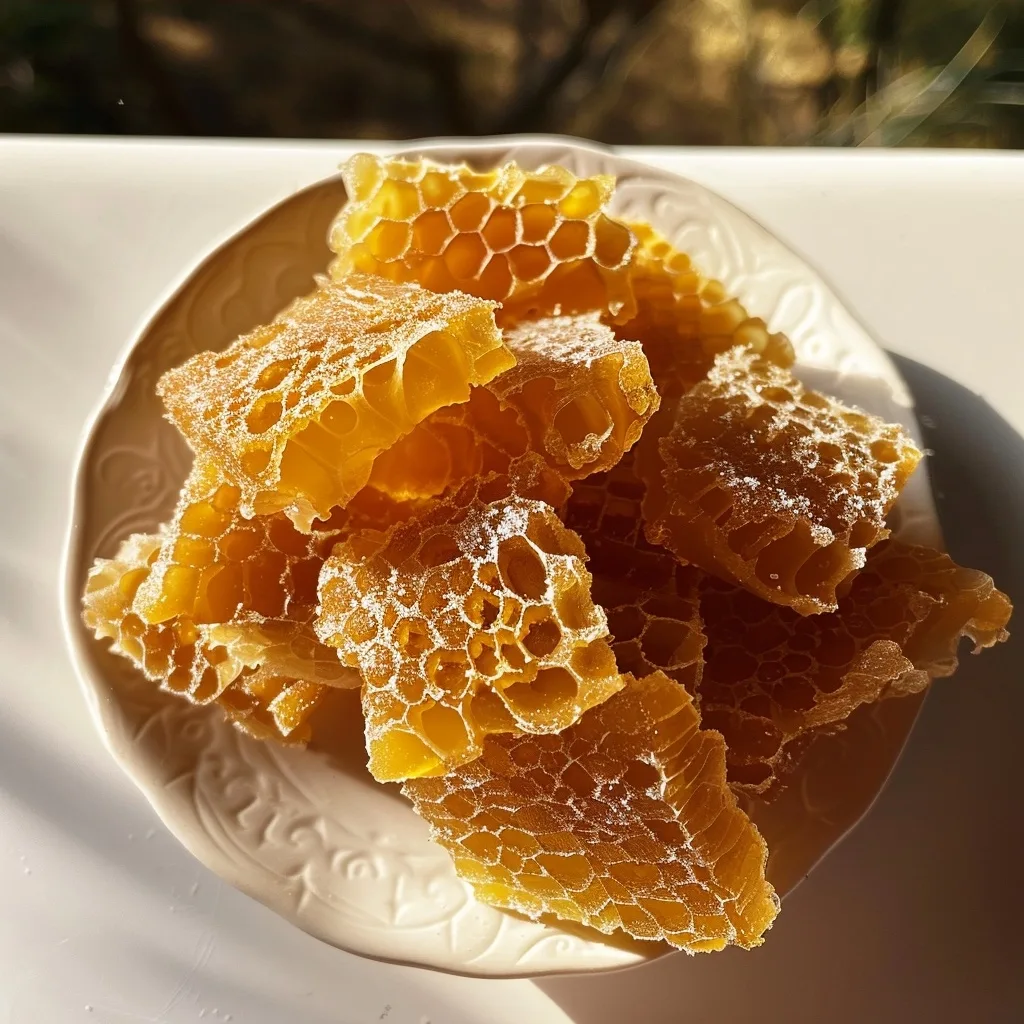
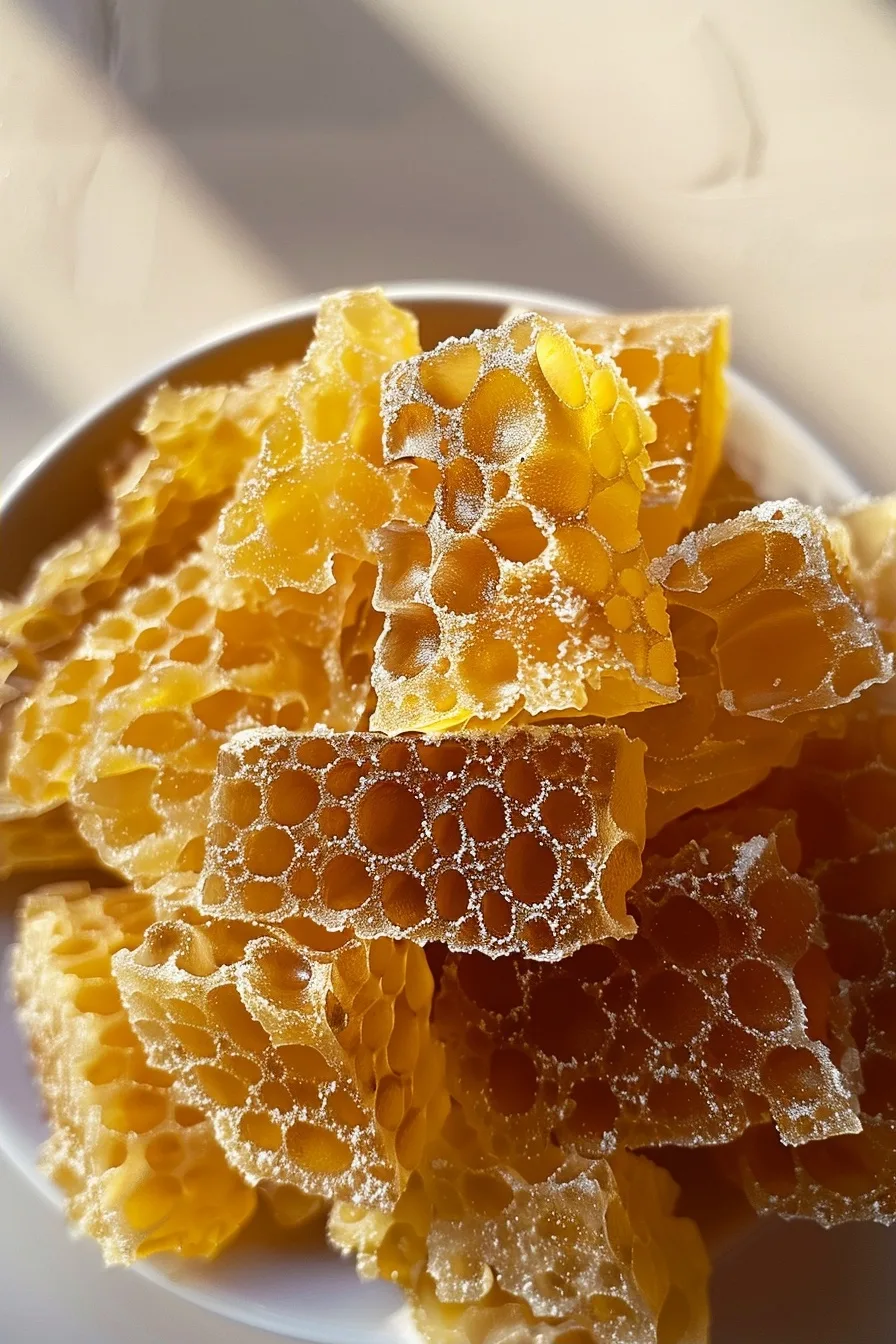
Honeycomb candy is a crisp, honey-flavored treat that melts instantly in your mouth, delivering a satisfying crunch with a sweet, buttery finish. It combines the caramelization of sugar with the aromatic depth of honey for a confection that feels both luxurious and accessible. This classic dessert is ideal for holiday gift boxes, movie nights, and drizzle over desserts like ice cream or cheesecake.
| Prep Time | 15 minutes |
|---|---|
| Cook Time | 10 minutes |
| Total Time | 25 minutes |
| Servings | 1 cup (approx. 200 g) |
| Difficulty | Easy |
| Cuisine | International |
Why This Recipe Works
I first discovered honeycomb candy while traveling across Europe, watching artisans create the brittle in open grills. The combination of sugar, corn syrup, and baking soda reacts to create tiny bubbles that cool into a lattice of airy crystals. I learned that controlling the temperature precisely and working quickly are the keys to preventing stuck‑on or overly sticky results. When the recipe follows these precise steps, the candy develops a delicate crunch and a caramel‑sour contrast that excites the palate each time.
From that experience, I refined the method for home kitchens, ensuring that even beginners can produce professional‑grade candy. The technique has been tested over dozens of batches, and the outcome is consistently smooth, brittle, and visually stunning. Those who follow the instructions find the process straightforward, and the end product invites multiple generations to come together over a shared sweet treat.
Ingredients
| Ingredient | Quantity | Notes (Alternatives) |
|---|---|---|
| Granulated white sugar | 2 cup (400 g) | Can replace with coconut sugar for a deeper caramel flavor |
| Light corn syrup | 1 cup (240 ml) | Use honey‑based syrup for gluten‑free conversion |
| Honey | ¼ cup (60 ml) | Use 1‑spoon extra honey to boost aroma if desired |
| Unsalted butter | 2 tbsp (30 g) | Substitute with clarified butter for sharper taste |
| Salt | ½ tsp (2 g) | Adjust to taste if using honey with natural salinity |
| Baking soda | ¾ tsp (3 g) | Use potassium bicarbonate for low‑sodium options |
| Water | 2 tbsp (30 ml) | Replace with honey syrup for extra texture variation |
Step‑by‑Step Instructions
-
Heat the Sugar Mixture
Whisk together sugar, corn syrup, honey, and water in a heavy saucepan until the solids dissolve. Place the saucepan over medium heat, stirring constantly, to prevent scorching.
-
Bring to a Boil and Make a Test Ropes
When the mixture reaches a rolling boil, allow it to cook unchanged for 30 seconds, then remove from heat and test with a small drop of the syrup on a chilled metal plate. If the drop does not mold but forms a firm yet flexible thread, proceed.
-
Add Butter and Salt
Return the saucepan to low heat, stirring in butter until it melts fully, then sprinkle with salt and mix to incorporate. The butter adds a glossy sheen and tender crumb.
-
Incorporate Baking Soda
Sprinkle baking soda over the surface of the hot syrup while stirring vigorously. The bubbling reaction creates the signature honeycomb structure as the mixture cools.
-
Pour and Allow to Set
Pour the frothy mixture onto a greased silicone mat or parchment paper, spreading it thinly. Let the candy air‑cool for 15–20 minutes until fully set and brittle.
-
Break into Bites
Use a pizza cutter or sharp knife to cut the hardened candy into desired shapes — squares, bars, or heart‑shaped pieces fit well for gift packaging.
-
Store or Present
Wrap each piece individually in waxed paper or store them in an airtight container at room temperature. The candy remains crisp for up to a month.
Chef Tips for Perfect Results
- Use a digital thermometer to reach 150°C (302°F) before adding baking soda; this ensures crispness without burning.
- Preheat a small metal pan and force hot syrup drops onto it to test; a short “woosh” sound confirms the correct temperature.
- Store the final candy in a silica gel box to absorb moisture and keep the texture crunchy.
- For extra flavor, toss the batter with a pinch of smoked paprika before adding baking soda; the subtle smokiness pairs well with honey.
- Quickly rotate the grease‑coated parchment paper to distribute heat evenly and avoid uneven set edges.
Common Mistakes to Avoid
- Burning the sugar mixture – using high heat without stirring causes uneven caramelization, leading to a bitter taste and sticky texture. Keep heat consistent and stir frequently.
- Delayed addition of baking soda – adding baking soda too late reduces the bubble formation, resulting in dense, glassy candies. Sprinkle it immediately after withdrawal from heat.
- Using an ungreased surface – failure to grease the setting sheet leads to sticking, requiring excessive cutting and wasting candy. Use silicone or parchment with a light dusting of cornstarch.
- Over‑cooking after baking soda – let the mixture cool for at least 15 minutes; over‑cooking can soften the candy, causing it to crack during cutting.
Variations and Substitutions
| Ingredient | Substitution | Impact on Flavor |
|---|---|---|
| Honey | Agave nectar | Delivers a milder, sweeter palate with lower acidity. |
| Baking soda | Kosher salt (smaller quantity) | Reduces bubble size, creating a finer crumb. |
| White sugar | Brown sugar | Adds molasses hints for a richer, caramel‑like depth. |
| Corn syrup | Golden syrup | Provides a subtle buttery undertone and a silky mouthfeel. |
| Butter | Unsalted coconut oil | Results in a tropical nuance while keeping the candy crisp. |
Serving Suggestions and Pairings
Cookies: Pair honeycomb candy with freshly baked shortbread or almond biscotti for an indulgent snack.
Cheese Boards: Place with mild goat cheese and fig jam; the candy’s crunch contrasts the creamy texture.
Drizzling: Melt slightly in a double boiler and drizzle over vanilla gelato, Greek yogurt, or dark chocolate mousse for a caramel‑honey finish.
Holiday Gift: Pack in a small tin, combine with a jar of local honey, and tie with twine for a rustic wedding favor.
Storage and Reheating
| Method | Duration | Instructions |
|---|---|---|
| Airtight Container | Up to 30 days | Store at room temperature; wrap in wax paper to maintain texture. |
| Refrigerator | Weeks | Seal in a zip‑lock bag; remove crumbs and crack the candy into larger pieces if needed. |
| Reheating | 5–10 min | Gently warm in a microwave for 10–15 seconds; combine with melted butter for sauce. |
Nutritional Information
| Nutrient | Approximate values per serving |
|---|---|
| Calories | 550 kcal |
| Protein | 1 g |
| Fat | 2 g |
| Carbohydrates | 130 g |
| Fiber | 0 g |
| Sugar | 110 g |
| Sodium | 90 mg |
Frequently Asked Questions
Can I make honeycomb candy without whole sugar?
Yes, you can substitute refined cane or cane‑derived sugars, but the texture may be less airy. Use a combination of sweetener and minimal acid to mimic the natural bagging effect.
How long does it take for honeycomb candy to cool?
After pouring on the mat, candy should set within 15–20 minutes at room temperature. The surface will feel firm enough to break.
What happens if I reheat honeycomb candy too long?
Prolonged heating softens the crystalline structure, turning the candy into a sticky fudge. Reheat sparingly, only 10–15 seconds at a time.
Is honeycomb candy healthy for children?
Honeycomb candy is high in simple sugars and best offered in moderation. Serve small portions to teach balanced indulgence.
Can I make honeycomb candy ahead for gift boxes?
Yes, the candy holds its crunch in airtight packaging up to one month; simply break and package the bits before sending or displaying.
For extra guidance on advanced candy manufacturing, visit BBC Good Food – Honeycomb Candy or explore the method on Simply Recipes for step‑by‑step illustrations.
Conclusion
Honeycomb candy delivers a bespoke blend of crunch and sweet aroma, making it a timeless addition to any dessert repertoire. Follow these techniques, tweak with your favorite variations, and celebrate the simplicity and elegance of homemade confectionery.