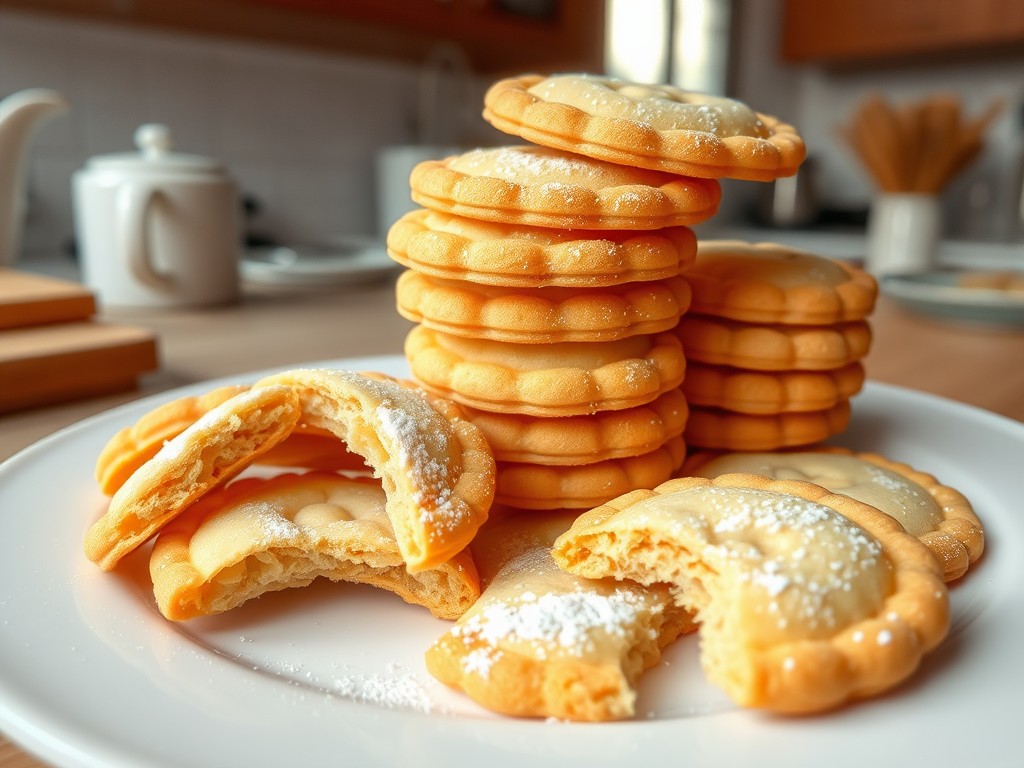
Wafer cookies are a delightful treat loved by many for their light, crispy texture and subtly sweet flavor. Perfect for tea time, as a snack, or even as a base for creative desserts, these cookies are versatile and easy to make. Here, we’ll walk you through everything you need to know to create these delightful treats at home, along with tips, variations, and serving ideas to elevate your baking game.

The Charm of Wafer Cookies
Wafer cookies hold a special place in the world of confectionery. Their thin, crisp layers provide the perfect balance of texture and flavor, making them a favorite among children and adults alike. Originating from European baking traditions, wafer cookies have evolved over the years, inspiring countless variations around the world. Whether enjoyed as a stand-alone snack, paired with coffee, or used as a decorative element in desserts, these cookies never fail to impress.
Ingredients: A Closer Look
Essential Ingredients:
- 1 cup (125g) all-purpose flour: Forms the structural base of the cookies.
- 1/4 teaspoon baking powder: Adds a touch of leavening for a light texture.
- 1/4 teaspoon salt: Balances the sweetness and enhances the overall flavor.
- 1/2 cup (100g) granulated sugar: Provides sweetness and contributes to the crisp texture.
- 1/2 cup (120ml) whole milk: Ensures a smooth batter consistency.
- 1/4 cup (60g) unsalted butter, melted: Adds richness and a hint of buttery flavor.
- 1 large egg: Acts as a binding agent, giving the wafers their structure.
- 1 teaspoon vanilla extract: Adds a fragrant, sweet aroma to the cookies.
Optional Add-ins:
- Chocolate or caramel for dipping: Elevates the presentation and taste.
- Crushed nuts for topping: Adds crunch and visual appeal.
- Food coloring: Perfect for themed events or festive occasions.
Step-by-Step Instructions
1. Prepare the Batter:
- In a medium bowl, whisk together the flour, baking powder, and salt. This ensures even distribution of the dry ingredients.
- In a separate bowl, combine the sugar, milk, melted butter, egg, and vanilla extract. Mix until smooth, creating a homogeneous liquid base.
- Gradually add the dry ingredients to the wet mixture, stirring gently. Avoid overmixing to keep the batter light and airy.
2. Preheat the Wafer Iron:
- Heat your wafer iron or pizzelle press according to the manufacturer’s instructions. Lightly grease it with butter or oil to prevent sticking and ensure an even cook.
3. Cook the Wafers:
- Spoon a small amount of batter (about a tablespoon) onto the center of the preheated wafer iron.
- Close the lid and cook for 1-2 minutes or until the wafer is golden brown and crisp.
- Remove the wafer carefully with a spatula and place it on a cooling rack to set.
- Repeat the process until all the batter is used.
4. Shape the Wafers (Optional):
- While the wafers are still warm, they can be shaped into tubes, cones, or bowls. This step is ideal for creating edible dessert containers or decorative elements.
5. Add Decorations:
- Dip the cooled wafers in melted chocolate or caramel. For added texture, sprinkle crushed nuts, shredded coconut, or colorful sprinkles on top before the coating sets.
Creative Variations
- Chocolate Wafer Cookies: Add 2 tablespoons of cocoa powder to the batter for a rich, chocolatey flavor.
- Citrus-Infused Wafers: Replace vanilla extract with orange or lemon zest for a refreshing twist.
- Nutty Delight: Incorporate finely ground almonds or hazelnuts into the batter for added depth and flavor.
- Gluten-Free Version: Substitute all-purpose flour with a gluten-free baking blend to cater to dietary restrictions.
Serving Suggestions
- Classic Pairings: Serve wafer cookies with coffee, tea, or hot chocolate for a comforting treat.
- Dessert Enhancer: Use wafers as a garnish for ice cream sundaes, trifles, or mousse cups.
- Sandwich Style: Spread a thin layer of Nutella, peanut butter, or fruit jam between two wafers for a decadent twist.
- Festive Presentation: Stack wafers into layers with whipped cream or frosting for a visually stunning dessert centerpiece.
Storage Tips
Wafer cookies are best enjoyed fresh, but proper storage can extend their crispness:
- Room Temperature: Store in an airtight container lined with parchment paper to prevent moisture. Keep at room temperature for up to one week.
- Freezing: For longer storage, freeze wafers in a sealed bag. Thaw at room temperature before serving.
Frequently Asked Questions
1. Can I make wafer cookies without a wafer iron?
Yes! While a wafer iron or pizzelle press yields the best results, you can use a griddle or skillet to make thin pancake-like wafers. Simply spread the batter thinly and cook until crisp.
2. Why are my wafers not crispy?
Ensure your wafer iron is adequately preheated, and avoid adding too much batter. Cooking for an additional 30 seconds can also help achieve the desired crispness.
3. Can I make these cookies vegan?
Yes, substitute milk with almond or oat milk, butter with coconut oil, and use a flaxseed egg (1 tablespoon ground flaxseed + 3 tablespoons water).
The Joy of Homemade Wafer Cookies
Baking wafer cookies at home is a rewarding experience that allows for creativity and personalization. Whether you’re crafting a batch for a special occasion or simply indulging in a weekend project, these cookies are sure to bring smiles to everyone who tries them. Take your time experimenting with flavors, shapes, and toppings to make each batch uniquely yours.
Final Thoughts
Wafer cookies are more than just a treat—they’re a canvas for your culinary imagination. From their crispy texture to their endless versatility, these cookies are a delightful addition to any baker’s repertoire. Gather your ingredients, fire up your wafer iron, and let the magic begin!
For more recipes visit my website Lely Recipes

