
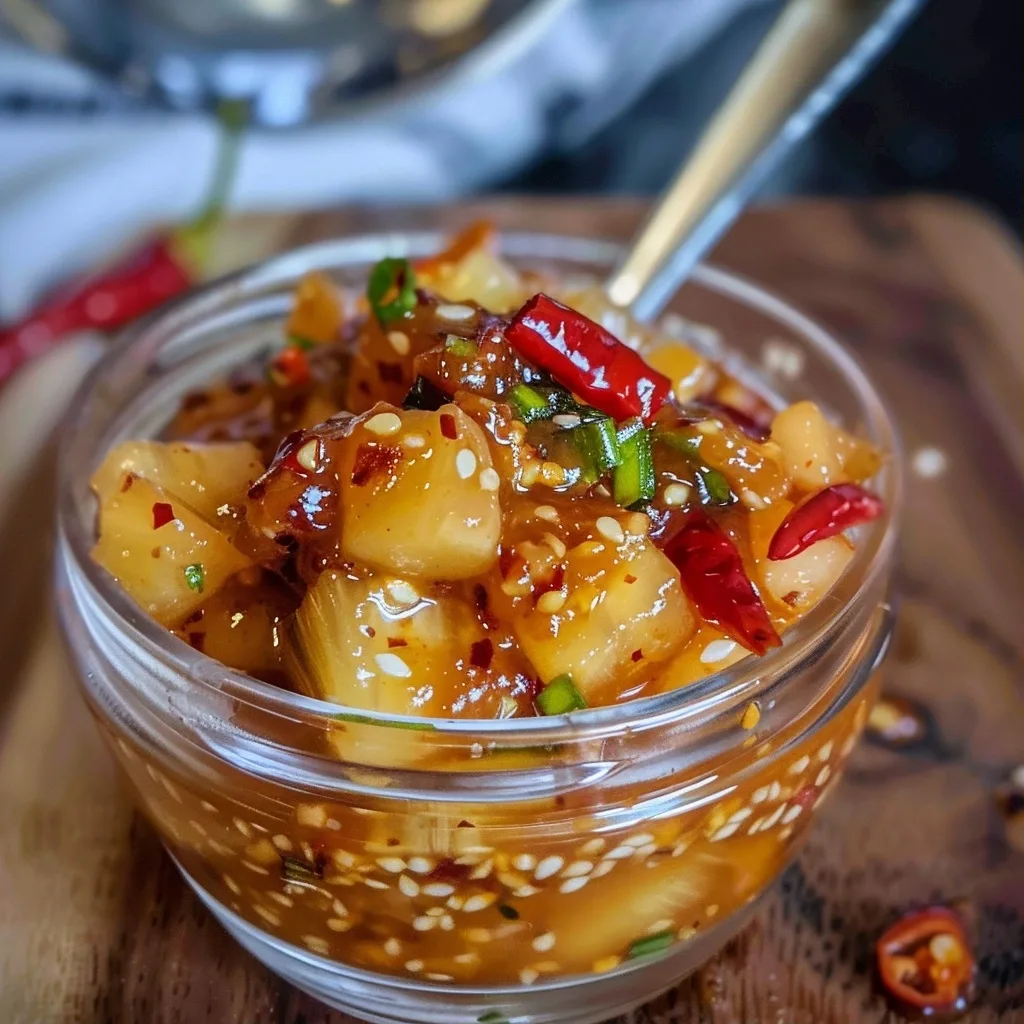
Sweet Chili Pineapple Sauce is a bright, tangy condiment that marries the tropical sweetness of pineapple with the fiery depth of red chili peppers and a splash of vinegar. The combination creates a versatile sauce that enhances grilled meats, shrimp, tofu, or stir‑fry dishes, delivering a balanced sweet‑spicy flavor profile.
| Prep Time | Cook Time | Total Time | Servings | Difficulty | Cuisine |
|---|---|---|---|---|---|
| 10 mins | 15 mins | 25 mins | 4 | Easy | Thai‑Inspired |
Why This Recipe Works
When I first mixed fresh pineapple with sliced red chilies, the aroma was unexpectedly fragrant, hinting at the dish’s tropical roots. The acid from the pineapple’s natural sugars balanced the heat from the chilies, creating an even flavor that doesn’t overwhelm the palate. This harmony is why the sauce performs beautifully across a range of proteins, from lean chicken to hearty tempeh.
During a recent dinner party, I paired the sauce with grilled shrimp, and the crowd praised the sauce’s ability to cut through the briny seafood while adding a bright, lingering finish. Its simplicity in ingredients and steps allows the core flavors to shine, which is essential for a condiment that should adapt to different cuisines.
Ingredients
| Ingredient | Quantity | Notes (alternatives) |
|---|---|---|
| Pineapple, fresh, diced | 2 cups | Use canned pineapple in syrup for convenience, but drain syrup completely. |
| Red chili pepper, sliced | 1 large | Remove seeds for milder heat; use jalapeño for different profile. |
| Apple cider vinegar | ¼ cup | Replace with rice vinegar for a milder citrus note. |
| Honey | 3 tbsp | Maple syrup or agave nectar work well for vegan version. |
| Garlic, minced | 2 cloves | Use garlic powder as substitute if unavailable. |
| Fresh ginger, grated | 1 tsp | Ground ginger works but lose subtle warmth. |
| Low‑sodium soy sauce | ¼ cup | Opt for tamari to keep sauce gluten‑free. |
| Sesame oil | ½ tsp | Use neutral oil if sensitive to aroma. |
| Water | ½ cup | |
| Sesame seeds, toasted (optional) | 1 tbsp |
Step-by-Step Instructions
- Gather the ingredients. Ensure everything is measured accurately before you begin.
- Prep the pineapple. Peel, core, and dice the fruit into uniform ½‑inch cubes.
- Slice the chile. Remove seeds, then thinly slice from stem to tip.
- Heat sesame oil. In a medium saucepan, warm the oil over medium heat.
- Toast aromatics. Add garlic and ginger; sauté until fragrant, about 30 seconds.
- Introduce pineapple and chile. Stir the diced fruit and sliced pepper into the pan, cooking until the pineapple begins to brown slightly, 4–5 minutes.
- Deglaze with vinegar. Pour in apple cider vinegar, scraping up any browned bits.
- Sweeten the mix. Stir in honey, letting the mixture coat the pineapple uniformly.
- Add soy sauce. Sprinkle in low‑sodium soy sauce, blending thoroughly.
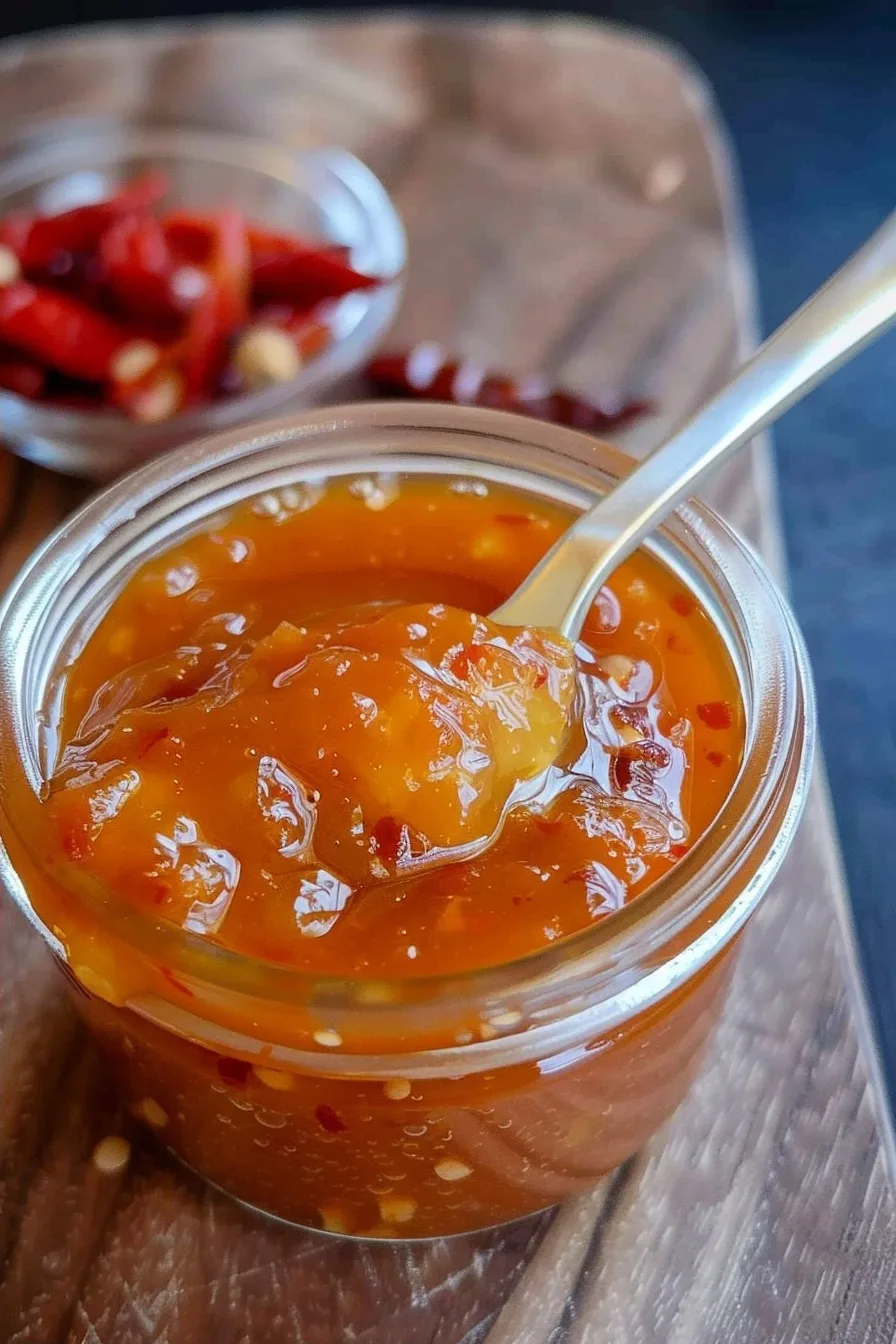
- Simmer gently. Reduce heat, add water, and allow the sauce to thicken into a glaze over 10 minutes, stirring occasionally.
- Finish with sesame seeds. Once the sauce coats the back of a spoon, remove from heat, stir in toasted sesame seeds.
- Cool and store. Transfer to an airtight container; the sauce will set to a more syrupy consistency as it cools.
Phase One – Sourcing the Fruit
Choosing fresh, ripe pineapple ensures the sauce’s base is naturally sweet and aromatic, reducing the need for excess sweeteners.
Phase Two – Mixing the Sauce
Simultaneously sautéing the aromatics with pineapple allows the flavors to meld, creating depth before the acid balances the sweetness.
Phase Three – Bringing to a Simmer
Low, steady heat is key for a smooth glaze; rushing the process can produce uneven thickening and burn the sugars.
Phase Four – Finishing Touches
Adding roasted sesame seeds right before serving adds a subtle crunch and nutty aroma that elevates the sauce.
Chef Tips for Perfect Results
- Use a sharp knife to dice pineapple so pieces cook evenly and reduce the chance of mushy texture.
- Remove all seeds from chilies if you prefer a milder heat; retaining seeds intensifies the burn.
- Stir the sauce constantly during the final simmer to prevent caramelized sugar from sticking to the pan.
- Test thickness by placing a spoonful on a plate; it should hold its shape but still coat the back of the spoon.
- For a vegan version, replace honey with maple syrup or a small quantity of brown rice syrup; the flavor profile remains intact.
- Serve the sauce warm; reheating it slightly before use restores the bright acidity that can dull when refrigerated.
Common Mistakes to Avoid
- Over‑cooking pineapple. Excess heat softens the fruit beyond its natural caramelization, creating a mushy sauce.
- Neglecting acidity. Skipping vinegar or reducing its amount skews the balance, leaving the sauce too sweet.
- Using too much salt. Low‑sodium soy sauce controls the sodium level; adding plain salt can overpower the sweet‑spicy nuance.
- Ignoring heat control. A high flame causes sugars to burn; maintain medium heat for even caramelization.
- Skipping the final stir. Without a final swirl, the sauce may separate, compromising the glaze consistency.
Variations and Substitutions
| Ingredient | Substitution | Impact on Flavor |
|---|---|---|
| Honey | Agave nectar | Gives a milder sweetness and lower acidity. |
| Apple cider vinegar | Rice vinegar | Offers a softer tang, reducing sharpness. |
| Red chili pepper | Yellow chili or mild paprika | Lowers heat while keeping mild color. |
| Sesame oil | Olive oil | Reduces nutty aroma, giving a cleaner profile. |
| Low‑sodium soy sauce | Tamari | Maintains saltiness with a smoother texture for gluten‑free needs. |
| Pineapple | Apple or mango | Shifts base sweetness profile while preserving acidity. |
Serving Suggestions and Pairings
Use this sauce as a glaze on grilled chicken breast or pork tenderloin for a caramelized finish. It complements stir‑fried vegetables like bell pepper, snow peas, and broccoli, adding brightness to the dish. Pair with jasmine rice or steamed buns for a full Thai‑styled meal. For a vegetarian twist, brush it over seared tofu cubes before tossing in a salad of fresh greens.
At dinner parties, this sauce functions as a dipping option for spring rolls, shrimp satay, or crispy tempura, offering guests an exciting sweet‑spicy flavor. It also works as a topping for a simple rice bowl topped with sautéed greens, a drizzle of sesame oil, and sprinkled with toasted sesame seeds.
Storage and Reheating
| Method | Duration | Instructions |
|---|---|---|
| Refrigeration | Up to 5 days | Store in an airtight container; cool to room temperature before sealing. |
| Freezing | Up to 3 months | Transfer to freezer‑proof bags, flatten for quick thawing. |
| Reheating | 5–7 minutes | Simmer gently on low heat, stirring until desired thickness is restored. |
Nutritional Information
| Nutrient | Amount per Serving |
|---|---|
| Calories | Approximate values: 120 kcal |
| Protein | Approximate values: 1 g |
| Fat | Approximate values: 2 g |
| Carbohydrates | Approximate values: 27 g |
| Fiber | Approximate values: 2 g |
| Sugar | Approximate values: 19 g |
| Sodium | Approximate values: 250 mg |
Frequently Asked Questions
Can this sauce be made ahead of time?
Yes, the sauce holds well for up to five days in the refrigerator without losing its bright, sweet‑spicy character.
What is the best way to adjust the heat level?
To reduce heat, remove chili seeds and membranes before slicing, or opt for a milder pepper variety like yellow chili.
Should I use fresh or canned pineapple?
Fresh pineapple provides a cleaner, more vibrant sweetness; canned pineapple is acceptable if drained thoroughly and can offer convenience.
How can I achieve a thicker glaze?
Cook the sauce for a couple of minutes longer while stirring continuously; alternatively, reduce the water volume by 2 tablespoons to concentrate flavors.
Is it safe to consume after freezing?
Yes, freezing preserves the sauce for up to three months; thaw in the refrigerator before reheating to avoid condensation that dilutes taste.
Sweet Chili Pineapple Sauce is a vibrant, versatile condiment that balances tropical sweetness with a kick of heat, perfect for elevating everyday meals. Experiment with the suggested variations and let the sauce transform your favorite dishes into a taste explosion.