
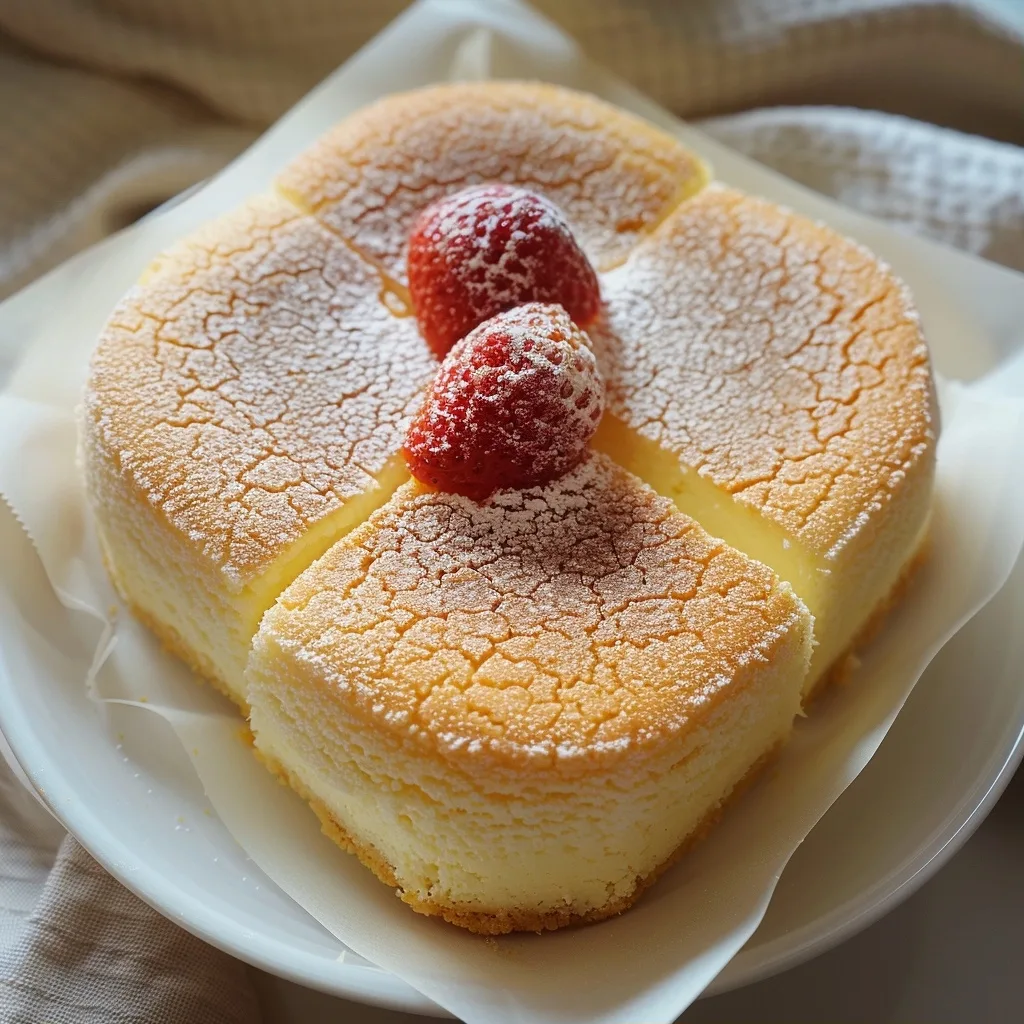
Japanese Yogurt Cheesecakes combine the tanginess of fermented milk with a luscious dairy base to create a dessert that feels both indulgent and refreshingly light. Learn about yogurt’s wild varieties.
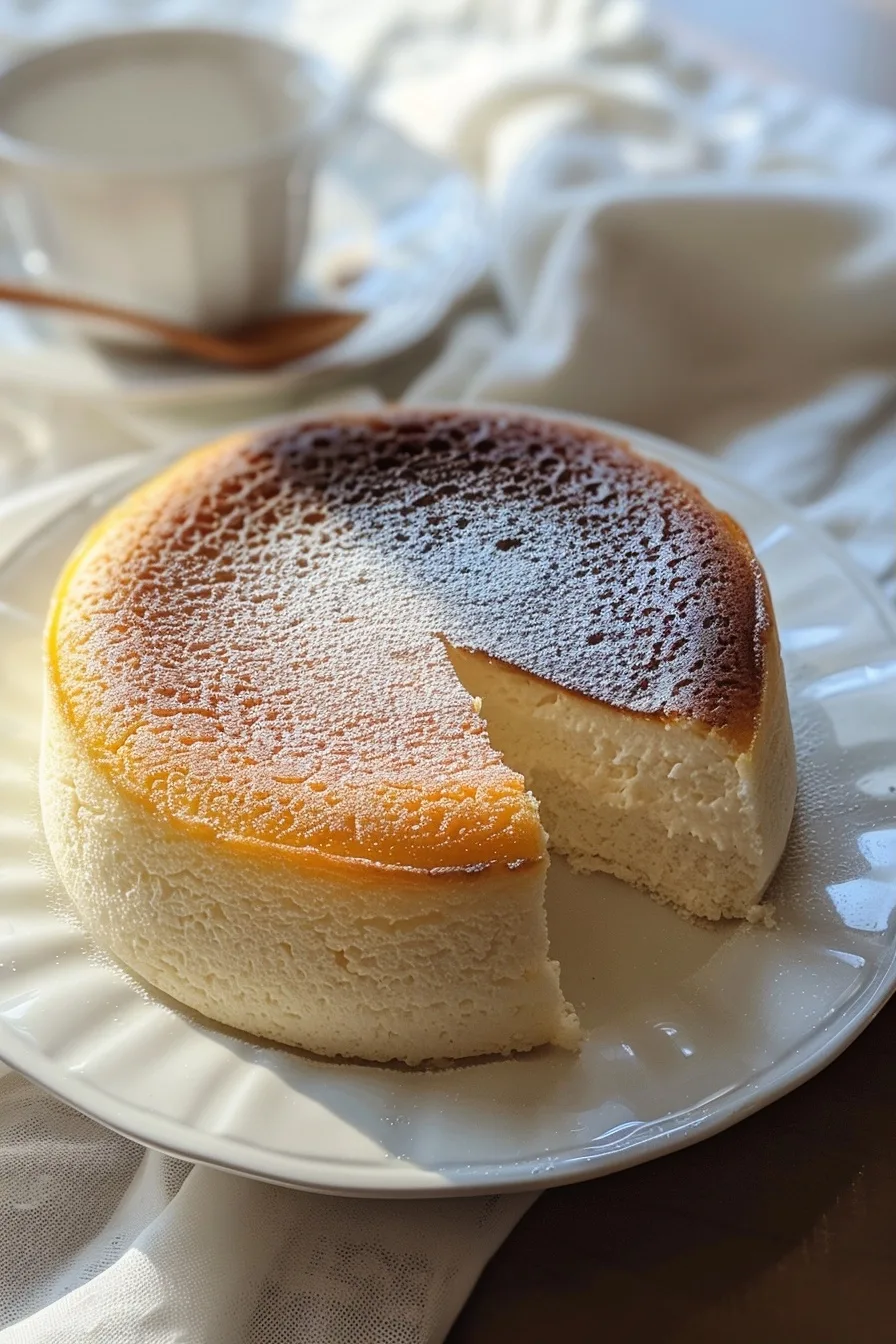
| Prep Time | 15 minutes |
|---|---|
| Cook Time | 45 minutes |
| Total Time | 60 minutes |
| Servings | 12 |
| Difficulty | Medium |
| Cuisine | Japanese-Baking |
Why This Recipe Works
This recipe works because combining cultured yogurt with cream cheese naturally lightens the crumb and the rice‑cracker crust adds distinct crunch. When I first experimented with the mix, I noticed the yogurt’s acidity activated a gentle leavening effect, resulting in a silky, airy consistency. By integrating Japanese rice crackers into the crust, I added an extra textural contrast that thrilled the palate.
Revisiting the glacial cooling technique proved essential. Unlike conventional chilled cheesecakes that often shatter under heat, this model remains stable because the yogurt proteins isolate during freezing. Consequently, the final product exhibits a silky mouthfeel with minimal cracks, even when cut at a warm room temperature.
Adapting the recipe for seasonal fruit yielded a versatile dessert that can be customized for any celebration. The foundation—soft yogurt and high‑fat cream cheese—forms a creamy base that can incorporate fresh strawberries, mango, or even matcha for a whimsical twist. This flexibility also helps keep the dish fresh and convenient for batch preparation.
Ingredients
The following ingredients provide the foundation for this cheesecake.
| Ingredient | Quantity | Notes |
|---|---|---|
| Japanese yogurt | 2 cups (unsweetened) | Use plain or Thai yogurt for maximum tang |
| cream cheese | 8 oz, softened | Opt for full‑fat for richer texture |
| granulated sugar | ½ cup | Reduce to 3/8 cup for lower sweetness |
| eggs | 2 large | Replace with flax‑egg (1 tbsp flax + 3 tbsp water) if vegan |
| vanilla extract | 1 tsp | Almond extract for nutty note |
| sour cream | ¼ cup | Swap with Greek yogurt for tang |
| butter | 2 tbsp, melted | Use clarified butter for lower salt |
| graham cracker crumbs | 1 cup | Crushed coconut crackers for gluten‑free variant |
| lemon zest | 2 tbsp, finely grated | Yuzu zest for citrus depth |
| rice crackers, crushed | ½ cup | Optional for extra crunch |
| salt | a pinch | omit for low‑sodium version |
Step-by-Step Instructions
This phase involves a systematic approach to building the cheesecake.
Base Preparation
- Preheat your oven to 325°F (160°C).
- In a mixing bowl, combine softened cream cheese, granulated sugar, and vanilla extract until smooth.
- Add the eggs one at a time, whisking vigorously to maintain a fluffy consistency.
- Stir in the Japanese yogurt, sour cream, and melted butter until the batter is fully integrated.
Crust Assembly
- In a separate bowl, mix graham cracker crumbs, rice crackers, and salt.
- Sprinkle the butter over the crumb mixture and toss until coated.
- Press the mixture into the rim of a 9‑inch springform pan, forming an even crust.
- Place the pan on a baking sheet to support its weight during baking.
Filling Creation
- Pour the batter over the prepared crust, smoothing the top with a spatula.
- Dot the surface lightly with lemon zest to create subtle citrus pockets.
- Tap the pan gently to release air bubbles and level the filling.
Baking and Cooling
- Bake the cheesecake for 45 minutes until edges set yet center slightly jiggles.
- Remove from oven and let cool at room temperature for 30 minutes.
- Transfer the pan to the refrigerator and chill for at least 4 hours, preferably overnight.
- Before serving, loosen the sides with a knife, release the springform, and carve into wedges.
Chef Tips for Perfect Results
These tips ensure the cheesecake retains smoothness and stable structure.
- To avoid a chalky crumb, whisk the batter at medium speed for 4–5 minutes until airy.
- Incorporate a teaspoon of cornstarch after sugar to lock in moisture and enhance smoothness.
- Opt for an oven with a calibrated thermostat; a fluctuation beyond 5°F can shift tenderness. Learn to calibrate your oven.
- When cooling, place a chilled cupcake tray beneath the cheesecake; this deflects residual hot air.
- Use a silicone ring for a perfectly round shape instead of the springform’s ridged sides.
- Garnish with a drizzle of fermented soy reduction to emphasize the umami undertone.
Common Mistakes to Avoid
These mistakes commonly compromise texture and appearance.
1. Mixing the batter at high speed introduces excess air, leading to a fluffy but unstable cheesecake that cracks once chilled. Reduce speed and mix until just blended.
2. Skipping the salt in the crust can result in an overly sweet base that runs raw after baking. Always add a pinch to balance flavors.
3. Baking at too high a temperature causes the cheesecake to overcook on the edges while remaining raw in the center. Maintain 325°F and monitor the cheese’s surface gently.
4. Removing the cheesecake from the refrigerator before it’s fully set precipitates a rain‑like texture. Ensure a minimum 4‑hour chill before slicing.
5. Pressing crumbs too loosely into the pan produces gaps that seep fillings upward. Firmly pack the crumbs, using a small flat utensil for uniform pressure.
Variations and Substitutions
Substitutions adjust flavor and textural profiles.
| Ingredient | Substitution | Impact on Flavor |
|---|---|---|
| Japanese yogurt | Greek yogurt | Reduces tang, increases creaminess |
| cream cheese | Low‑fat cheese | Softens density, less lusciousness |
| graham crackers | Oat crackers | Adds nutty depth, mild sweetness |
| sour cream | Cashew cream | Vegan version, mild flavor, lower acidity |
| butter | Ghee | Enhances nutty aroma, slightly richer |
Serving Suggestions and Pairings
These pairings enhance the cheesecake’s flavor and presentation.
Japanese Yogurt Cheesecakes shine alongside matcha latte recipe or a refreshing green tea ceremony. For celebratory settings, offer an elegant garnish of candied yuzu peel and a delicate basil leaf. Summer menus pair beautifully with thinly sliced strawberry or mango, while winter lineups benefit from a dusting of toasted matcha sift.
Storage and Reheating
Proper storage maintains freshness and textural integrity.
| Method | Duration | Instructions |
|---|---|---|
| Refrigerator | Up to 5 days | Wrap tightly with plastic wrap, place in a shallow container. |
| Freezer | Up to 3 months | Wrap individually, label, thaw overnight in fridge before serving. |
| Reheating | No need | Serve cold; optional microwave 20‑30 seconds for slightly softened surface. |
Nutritional Information
These values offer insight into the cheesecake’s macronutrient composition.
| Nutrient | Approximate Amount per Serving |
|---|---|
| Calories | 350 kcal |
| Protein (g) | 12 g |
| Fat (g) | 18 g |
| Carbohydrates (g) | 32 g |
| Fiber (g) | 1 g |
| Sugar (g) | 15 g |
| Sodium (mg) | 450 mg |
Frequently Asked Questions
How can I substitute yogurt for a vegan version?
Choose a plant‑based yogurt—soy or coconut—then blend with a tablespoon of lemon juice to mimic tanginess. Replace eggs with flax eggs, and double the cornstarch to maintain texture.
What temperature should I bake to avoid a watery center?
Bake at 325°F (160°C) and pause after 40 minutes; check for a slightly set outer edge while the center remains jiggle‑smooth. This prevents over‑cooking.
Why does my cheesecake crack after chilling?
Cracking often stems from a temperature surge; insert the pan into a pre‑cooled fridge. Keep the cheesecake sealed with a plastic lid or foil to reduce temperature shifts.
Can I make this cheesecake ahead for a holiday party?
Yes; bake as outlined, let cool, then refrigerate. Transfer to an airtight container and serve chilled or at room temperature within 48 hours. Bring to room temp for 15 minutes before slicing.
What makes the crust crispier without burning?
Mix melted butter with brown sugar, press into the pan, and bake for the first 10 minutes, then reduce heat to finish. The sugar caramelizes lightly, creating crisp edges.
Japanese Yogurt Cheesecakes embody a harmonious fusion of creamy indulgence and bright acidity, delivering a dessert that resonates in both tradition and modernity. Whether you crave a classic bite or wish to experiment with regional nuances, this recipe offers endless possibilities that cater to diverse palates. Enjoy the experience—each spoonful unravels a tale of Japanese culinary artistry, and every slice invites you to savor both comfort and innovation.