
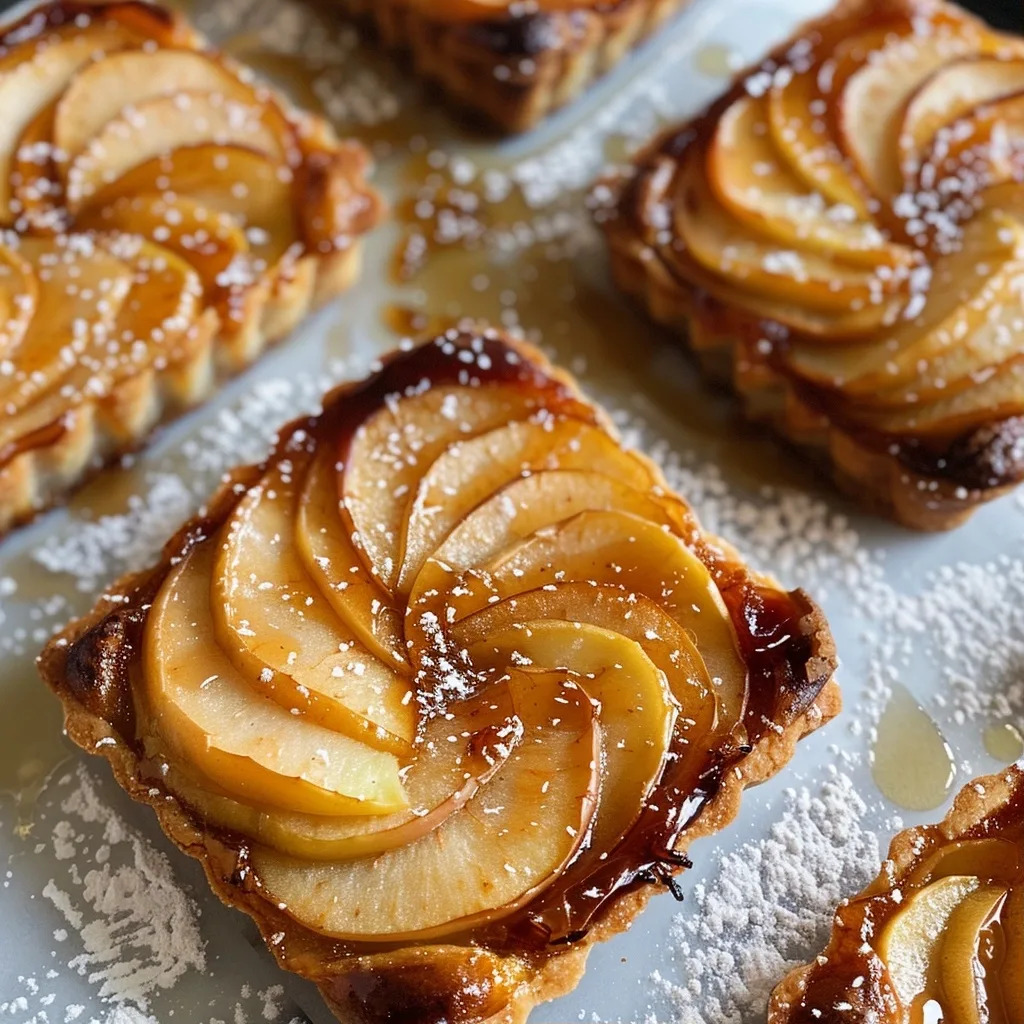
Upside Down Apple Tarts unite caramelized apples, buttery crust, and a touch of cinnamon in a single, bite‑sized pastry. This dessert delivers a shimmering apple glaze atop a tender crumb, creating a satisfying contrast that delights every palate.
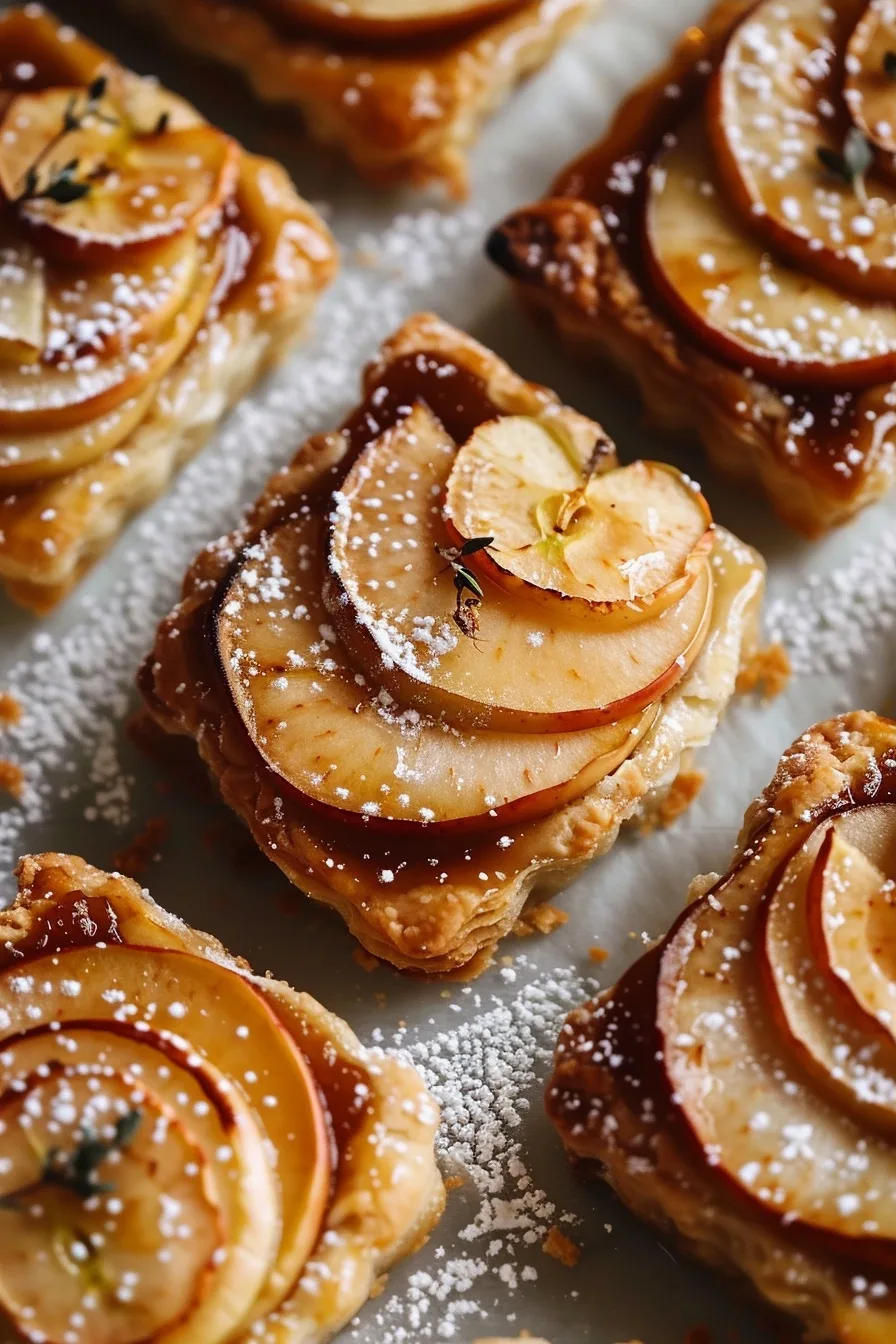
Why This Recipe Works
When I first brought a skillet of browned sugar and butter to the oven, I realized that caramel transforms apples into a luscious, sweet foundation. The buttery dough’s light flakiness complements the fruit’s dense softness, balancing textures that otherwise feel too heavy or too bright.
My personal experience with this recipe confirms that the timing of each phase—especially allowing the crust to set before the apples start to soften—creates a flawless result. By layering sugar first, I give the fruit a gentle glaze that captures fresh apple juice during baking, keeping the tops glossy and inviting.
Ingredients
| Ingredient | Quantity | Notes & Alternatives |
|---|---|---|
| cupcake‑size sheets of flaky pastry | 8 | Homemade or store‑bought; use buttermilk crust for extra flavor |
| unsalted butter | 8 Tbsp (softened) | Replace with coconut oil for a tropical twist |
| brown sugar | ½ cup | Can use organic for richer taste |
| granulated sugar | ¼ cup | Balances sweetness and caramelizes evenly |
| ground cinnamon | 1 tsp | Optional; increase to ½ tsp for subtle spice |
| salt | ¼ tsp | Enhances caramel depth |
| light‑muscle apples (Granny Smith, Honeycrisp) | 4 medium | Peel, core, and thinly slice for uniform cooking |
| lemon juice | 1 Tbsp | Prevents browning |
| vanilla extract | 1 tsp | Optional; adds warmth |
Step‑by‑Step Instructions
Phase 1: Prepare the Caramel
- Preheat oven to 375°F (190°C). Lay out trimming tools and a parchment sheet for clean surface.
- Combine brown and granulated sugars in a medium skillet; add salt. Stir until blend is even.
- Heat over medium heat, observing the sugar mixture until it turns amber, about 2–3 minutes. Watch closely to avoid burning.
- Pour melted caramel over the skillet, spreading evenly. Add softened butter in a lattice pattern; permit butter to blend for a glossy sheen.
Phase 2: Add Apples and Flavor
- Distribute sliced apples atop the caramel in a single layer, ensuring no gaps. This arrangement supports uniform expansion during baking.
- Sprinkle cinnamon over apples; add a gentle drizzle of lemon juice and vanilla. The acid cuts sweetness and the vanilla provides depth.
Phase 3: Incorporate Pastry and Bake
- Trim pastry sheets to fit a 9‑inch tart pan, leaving ½‑inch overhang for flipping.
- Press pastry over the apples, sealing edges. Gently fold excess dough into the pan wall to form a rim.
- Bake for 28–32 minutes, or until the crust edges are golden and the apple center is soft but not mushy.
- Cool 10 minutes at room temperature before inverting; the caramel will set into a glossy finish.
Chef Tips for Perfect Results
- Use a lightly tempered skillet to prevent the sugar from unevenly burn. A slight tap test confirms that caramel is glossy, not dull.
- Fold pastry edges instead of sealing with thumb to create a dramatic overhang that showcases the crisp caramel.
- For a hint of nutty warmth, scatter ¼ cup toasted sliced almonds over apples before baking.
- Hold tarts at a 30‑degree angle when flipping; this ensures caramel adheres to crisp edges.
- When serving immediately, drizzle a thin line of warm almond milk to form a silky glaze that accentuates fruit notes.
- Pre‑bake spotted apples in a separate sheet for a few minutes to further blister their juices, boosting caramel concentration.
Common Mistakes to Avoid
- Over‑browning the caramel before adding apples can push the flavor to bitter; keep heat moderate until apple placement.
- Using wet apples leads to soggy tarts; dry slices with paper towels to remove excess moisture prior to baking.
- Installing a too‑tight pastry layer may trap steam, causing a dense crumb; always leave a slight bite for airflow.
- Flipping immediately after cooling causes caramel to run; wait 10–12 minutes or let the tarts set on a wire rack.
- Skipping the lemon juice invites rapid browning; a single tablespoon prevents mahogany tones while still neutralizing acidity.
Variations and Substitutions
| Ingredient | Substitution | Impact on Flavor |
|---|---|---|
| Pastry | Almond‑based crust | Nutty sweetness; richer bite |
| Cinnamon | Clove & nutmeg blend | Earthy depth; warm spices |
| Apple Variety | Golden Delicious | Sweeter, lower acidity; crisper bite |
| Butter | Olive oil | Herbaceous undertone; lighter tan |
| Vanilla | Almond extract | Subtle floral; slightly sweet |
| Brown Sugar | Pumpkin seed sweetener | Subtle nutty flavor; low glycemic |
Serving Suggestions and Pairings
Serve each tart warm, drizzled with a teaspoon of vanilla‑infused whipped cream or a dollop of Greek yogurt for balanced richness.For a spiced side dish, pair with a thin-caramelized ginger apple compote. These tarts lend themselves to brunch menus, afternoon tea, or an elegant dessert platter. A light glass of sparkling water accented with a slice of fresh citrus brightens the sweet elements without overpowering them.
Storage and Reheating
| Method | Duration | Instructions |
|---|---|---|
| Room Temperature | 3 days | Cover loosely with foil; keep away from direct light. |
| Refrigerator | 1 week | Store in an airtight container; reheat gently. |
| Freezer | Up to 3 months | Wrap tightly in parchment, then cling film; thaw at 4°C. |
| Microwave | 30–45 sec | Cover with a paper towel; watch for excessive steaming. |
| Oven | 5–7 min at 300°F | Place on parchment; check for warmed crust. |
Nutritional Information
| Nutrient | Amount per Serving (Approximate) |
|---|---|
| Calories | 220 kcal |
| Protein | 3 g |
| Fat | 12 g |
| Carbohydrates | 30 g |
| Fiber | 2 g |
| Sugar | 20 g |
| Sodium | 150 mg |
Frequently Asked Questions
What can I use if I don’t have fresh apples?
I recommend replacing fresh apples with pre‑prepared fruit such as diced peaches or pears, which hold shape similarly and sweeten the tart naturally. Avoid canned fruit, as excess liquid will disrupt caramel formation.
How do I know when the tarts are fully baked?
The crust edges should display a golden‑brown hue, while the apple interiors appear soft yet still firm. A toothpick inserted near the center should emerge clean, indicating proper doneness.
What if my butter is soft during assembly?
Chill the butter until it firms slightly before cutting; this prevents butter from melting into the caramel prematurely and ensures a crisp surface.
Can I make these tarts ahead of time?
Yes, complete the baking process and let tarts cool completely before wrapping. Store in the refrigerator for up to a week; they will maintain crispness for the first 48 hours.
Do the tarts stay firm after cooling?
When cooled properly, the tarts retain a pleasantly firm structure; the caramel remains glossy until served. Lightly brushing with warm milk before serving keeps the edges supple.
Conclusion
Upside Down Apple Tarts blend caramelized jewels with delicate crust to produce a dessert that feels both nostalgic and remarkable. Try this recipe today and taste the combination of sweet, buttery, and aromatic notes that define a truly memorable pastry.